Contents
Introduction
The integration of an AI-driven chatbots has become a standard practice for enhancing user engagement, providing 24/7 customer support, and improving conversion rates on modern websites. The WPBot plugin is a robust, no-code solution specifically designed for WordPress, offering both out-of-the-box functionality and seamless integration with advanced AI services, such as OpenAI. This article provides a comprehensive, step-by-step technical guide for adding and configuring an AI chatbot using WPBot, eliminating the need to write a single line of code.
Prerequisites
- A self-hosted WordPress website.
- Administrator access to the WordPress dashboard.
- (Optional for advanced AI) An API key from a provider such as OpenAI, Google DialogFlow, or Gemini.
Phase 1: Installation and Basic Setup
Step 1: Install the WPBot Plugin
- Navigate to the WordPress dashboard.
- Go to Plugins > Add New.
- In the search bar, type “WPBot”.
- Click Install Now on the plugin card.
- Once the installation is complete, click Activate. A new WPBot menu item will appear in the dashboard sidebar.
Step 2: Access General Settings
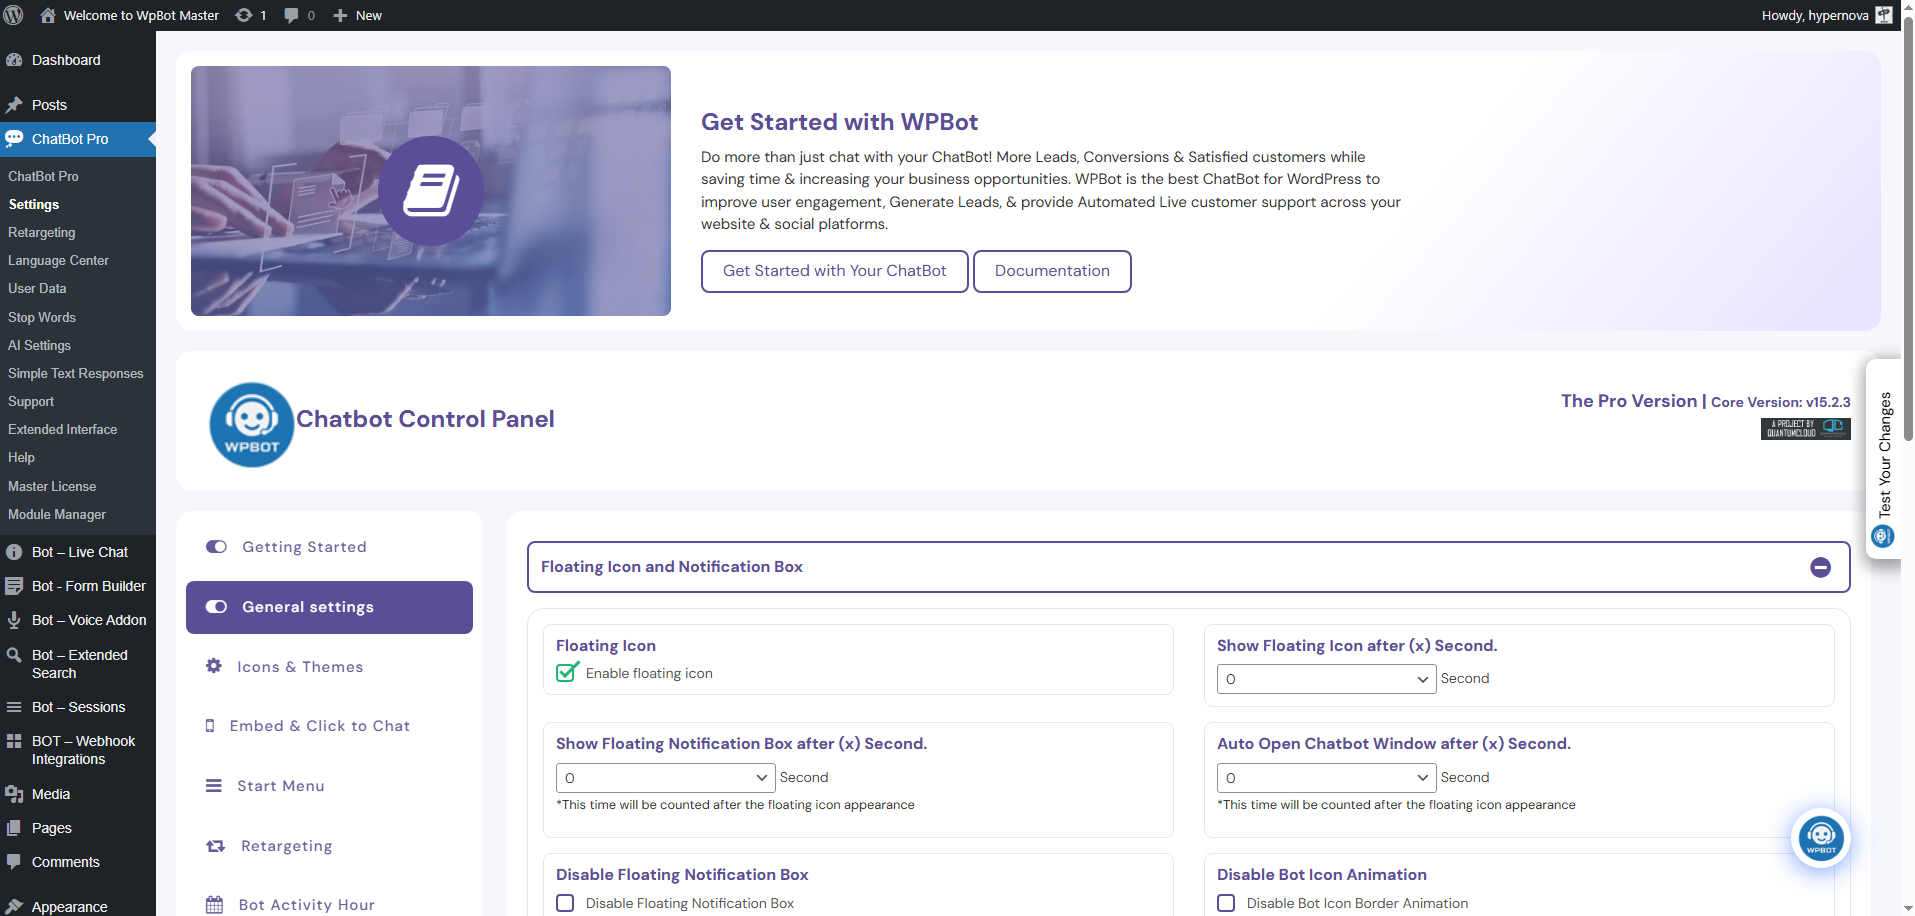
- Click on the ChatBot Pro menu to access the plugin settings.
- In the General Settings tab, ensure the chatbot is enabled.
- Customize basic information such as the bot’s name and the initial greeting message.
- Configure the bot’s language. WPBot has built-in English readiness.
Phase 2: Customizing Appearance and Functionality
Step 3: Customize Icons and Themes
![]()
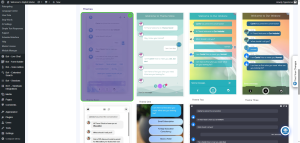
- Go to the Icons & Themes tab.
- Choose from the selection of pre-installed themes to match the website’s visual identity.
- Upload custom bot icons or agent images if needed. WPBot supports customization to ensure the bot feels like a native part of the site.
Step 4: Configure the Start Menu
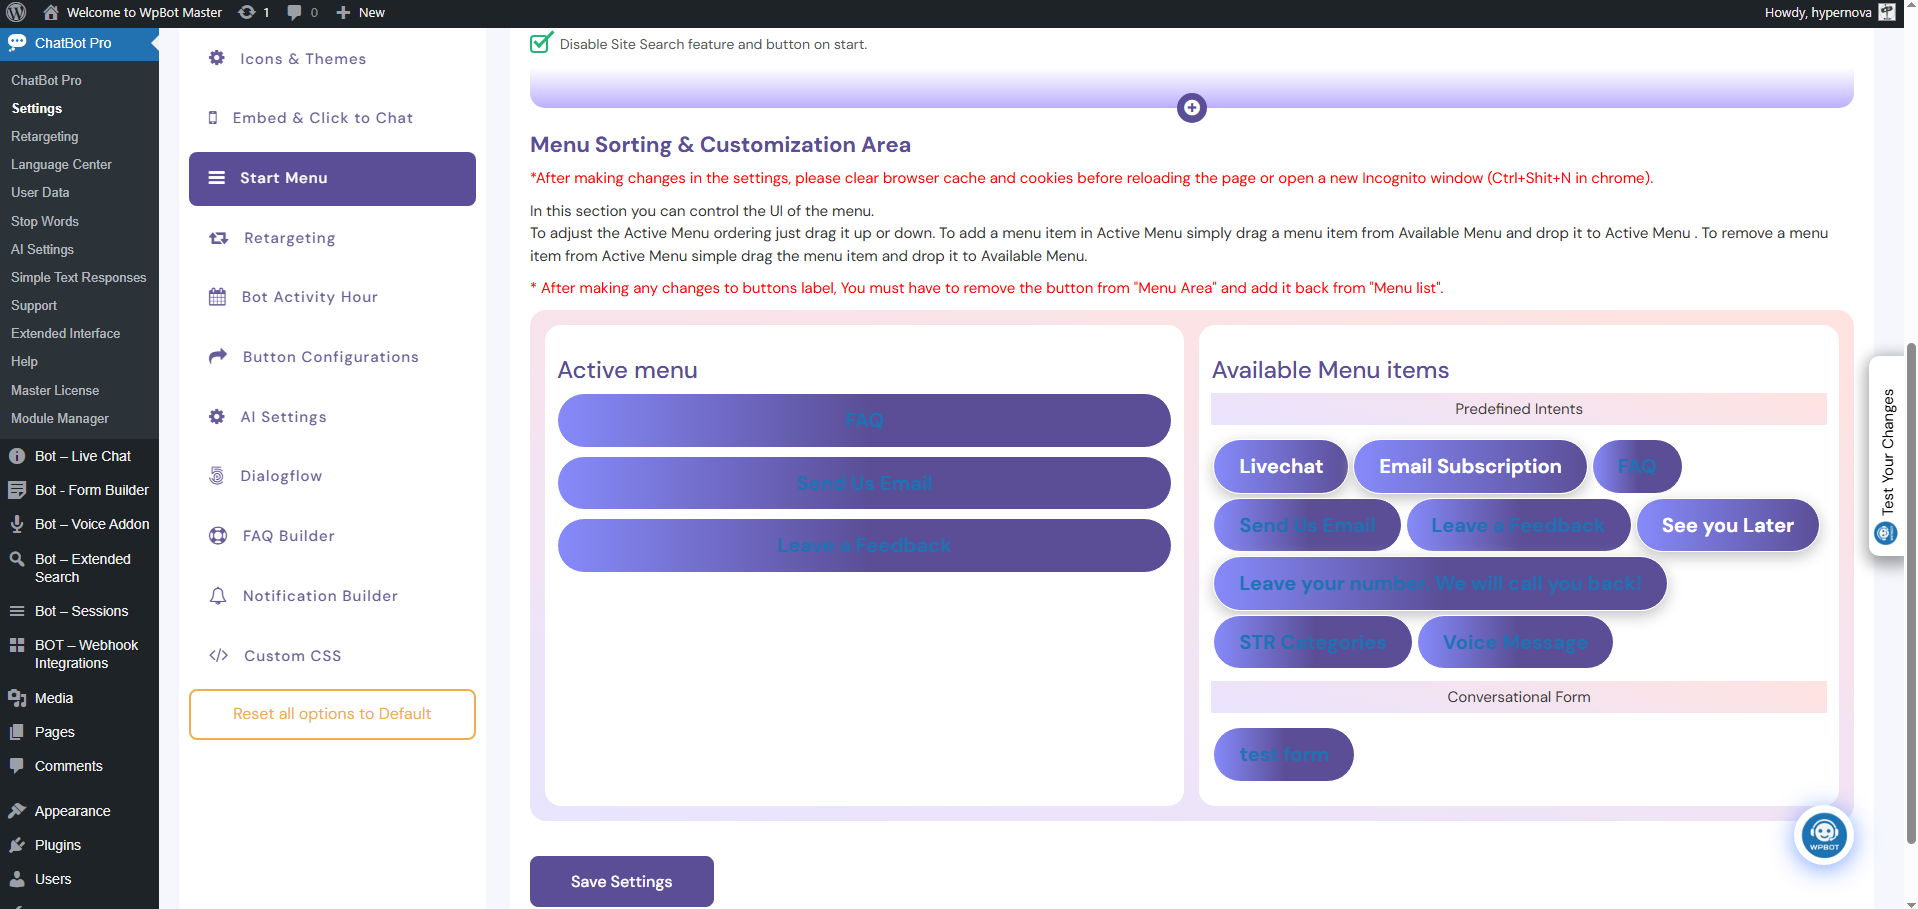
- Navigate to the Start Menu tab.
- Enable and disable pre-defined “intents” using the drag-and-drop interface. These intents are the bot’s core functions and require no AI integration.
- Examples of ready-made intents include:
- Site Search: Allows the bot to perform a search query on the website.
- FAQ: Provides a list of answers to frequently asked questions.
- Call Me: Enables users to request a call back.
- Send Email: Opens a form for users to send an email.
Phase 3: Adding AI-Powered Intelligence
Step 5: Integrate with an AI Service
Integrate WPBot with a Large Language Model (LLM) for a conversational chatbot experience.
- Navigate to the OpenAI or DialogFlow integration tab in the WPBot AI settings.
- Obtain an API Key: Log in to the chosen service (e.g., OpenAI) and generate an API key.
- Paste the API Key: Paste the key into the designated field within the WPBot settings. This links the WordPress bot to the AI backend.
- Once connected, the bot will use the AI service for natural language processing (NLP) to understand complex user queries and provide more dynamic, human-like responses.
Step 6: Train the AI with Website Data
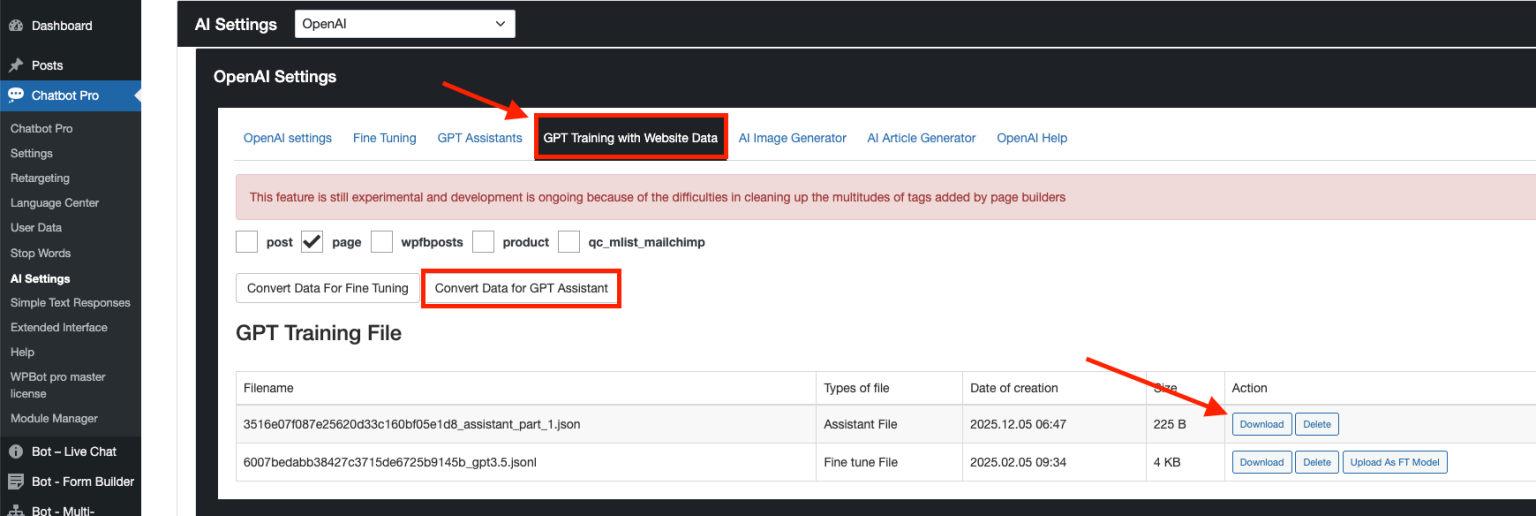
Train the chatbot with content to ensure it provides relevant information about the business. You can train an OpenAI model with your data using one of the two methods (requires WPBot Pro Professional or Master License):
-
-
- WPBot (Pro version) can automatically generate a dataset of the website’s pages, posts, and other content.
- Follow the WPBot instructions to generate a JSON file of this data.
- Upload this dataset to the AI assistant (e.g., OpenAI’s playground).
- This training process enables the bot to provide appropriate answers with links to website pages as references.
Check the full details here: Train the AI with Website Data.
-
Phase 4: Optimization and Deployment
Step 7: Create a FAQ Database
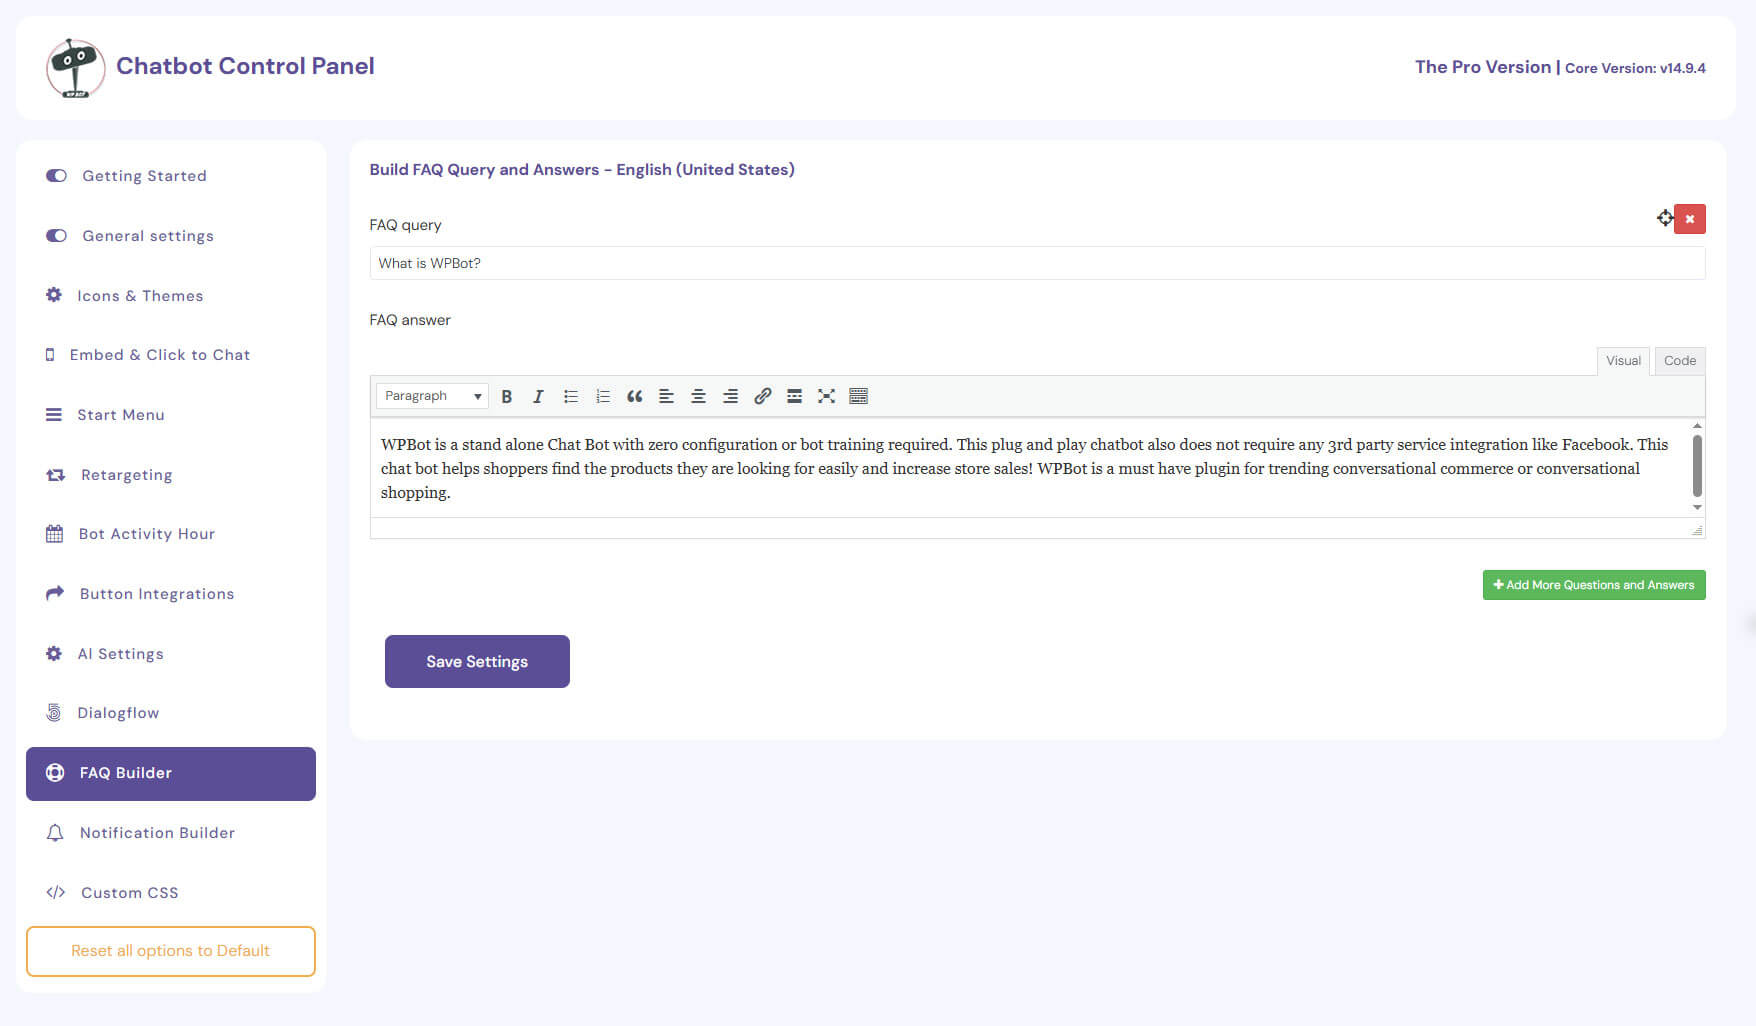
A dedicated FAQ section is important for providing consistent, structured answers.
- Use the FAQ Builder tab to add a list of questions and answers.
- The bot will prioritize these pre-defined answers when it detects a matching user query, reducing reliance on expensive AI API calls.
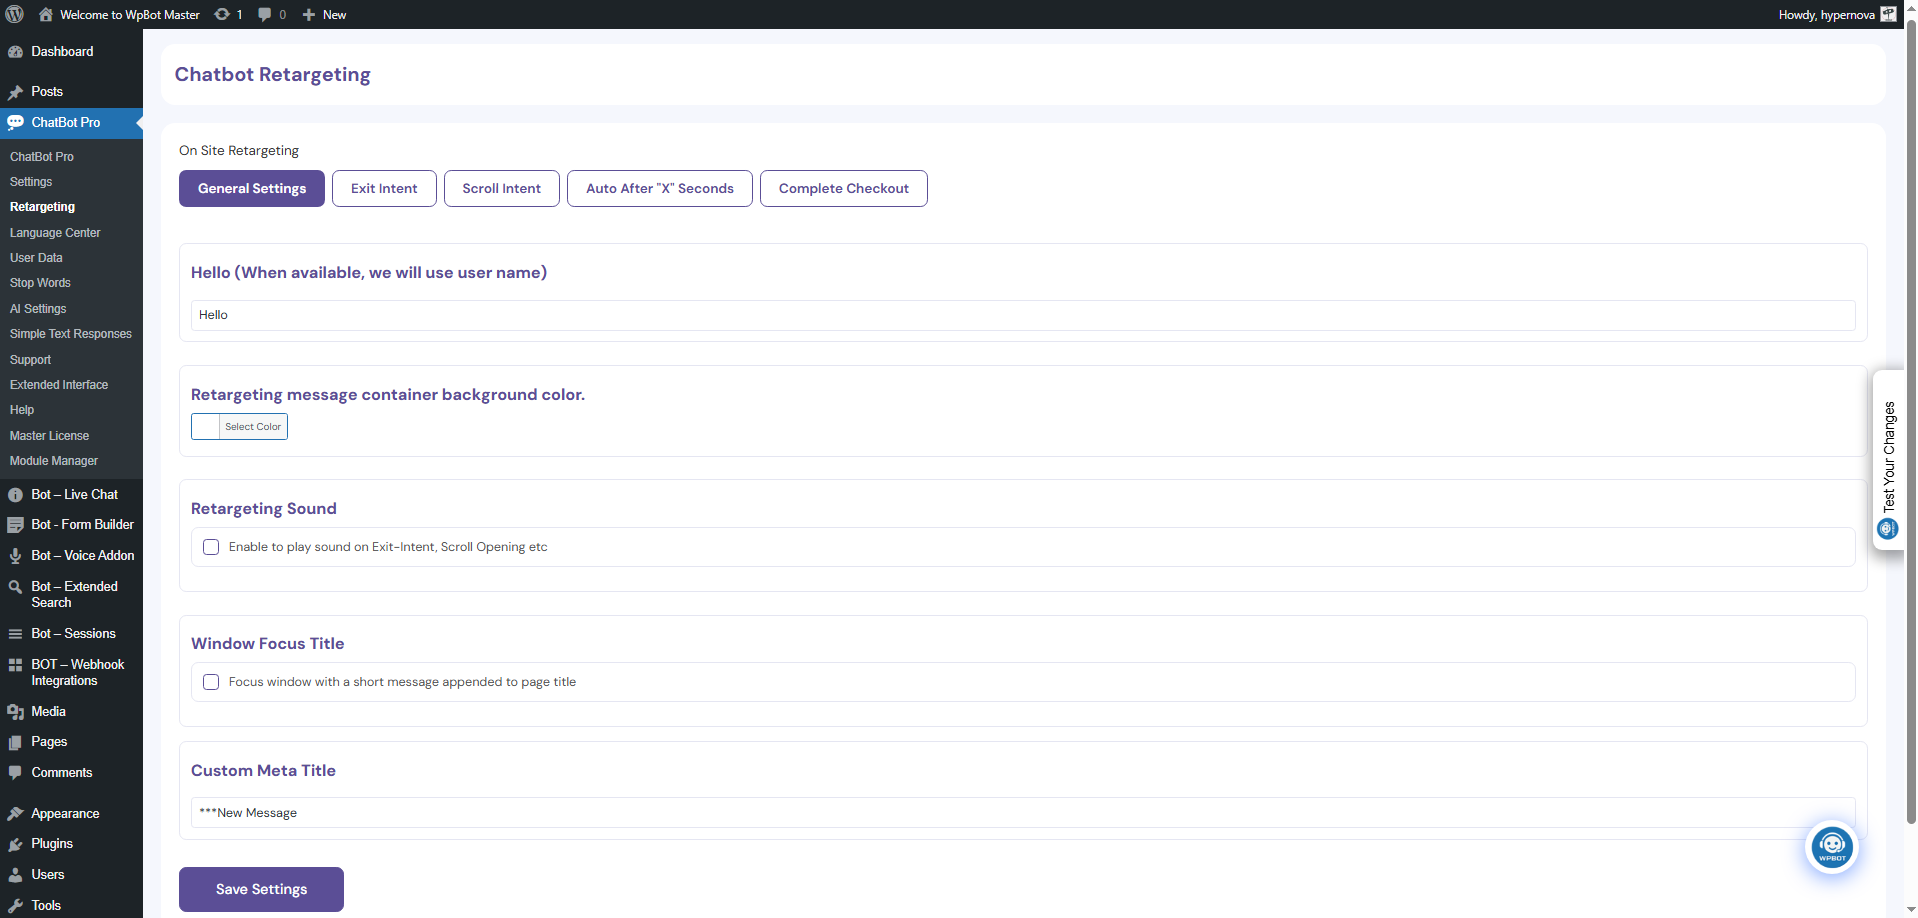
Step 8: Configure Retargeting and Advanced Features
-
- Configure WPBot’s built-in retargeting features (Pro version) for lead generation and conversion optimization.
- Exit Intent: Display a special offer or lead form when a user is about to leave the site.
- Time or Scroll Trigger: Engage users with a message after a certain amount of time or after they scroll a specific percentage of the page.
Check the full settings here: Retargeting
Step 9: Test and Publish
- Before making the bot live, click the floating bot icon on the website’s front end to test its functionality.
- Interact with the bot as a typical user would. Check if it handles basic intents, correctly pulls FAQ information, and provides accurate AI-powered responses.
- Ensure the bot’s behavior is as expected and does not interfere with the user experience.
Conclusion: Integrating an AI chatbot into a WordPress website is straightforward with the WPBot plugin. Following these steps, website administrators can deploy a conversational agent that enhances customer support, improves engagement, and drives conversions without writing any code. Whether starting with the free version’s features or upgrading to the pro version for deep AI integration, WPBot provides a scalable, user-friendly solution for a modern digital presence.