This topic covers the processes of managing your Conversational Form Builder entries. More specifically, this article outlines how to export, delete, view, and edit form entries. This can be easily mistaken for exporting and importing form configuration, which is an entirely different process.
Export, Delete, View, And Edit A Form Entry #
We recommend using this feature before updating WordPress core or the Conversational Form Builder plugin to ensure you don’t lose any of your form entries.
Steps To Export, Delete, View, And Edit A Form Entry #
- Step 1 : Go To The Conversational Form Builder Admin Page
Starting from the WordPress Dashboard, you can navigate to the Conversational Form Builder Admin Page.
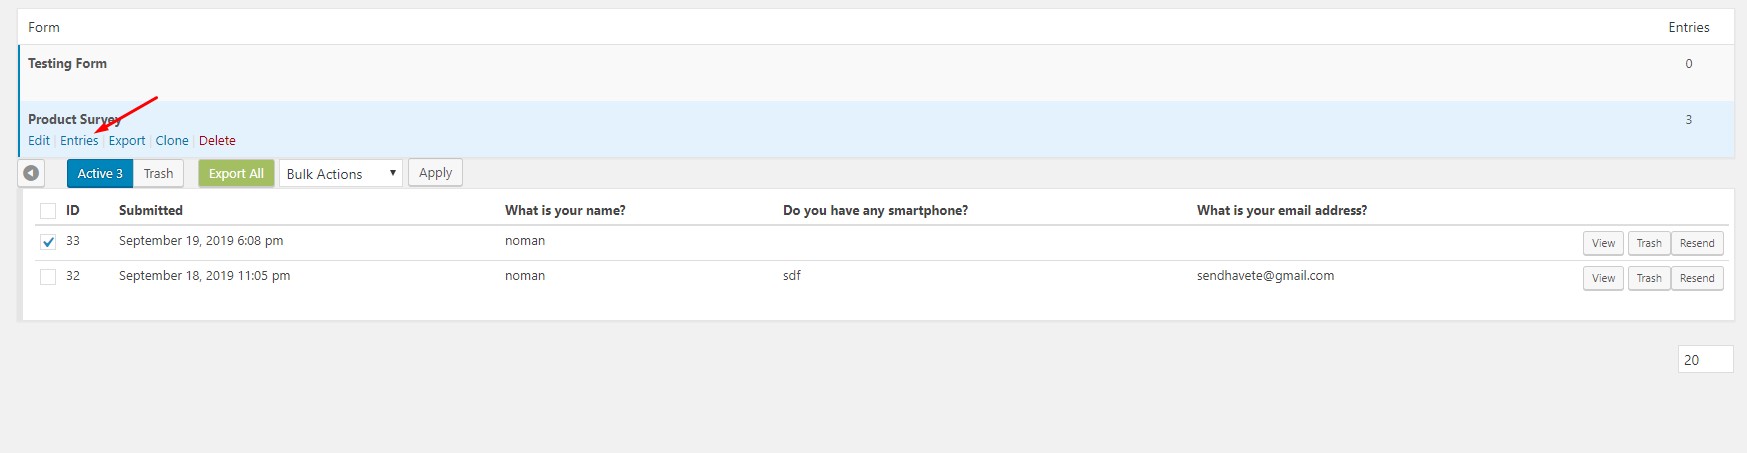
- Step 2 : Go To The Entries Page
You can navigate to the Entries page by hovering over 1 form from the list of built forms and clicking on Entries. By default, you are in the Active tab.

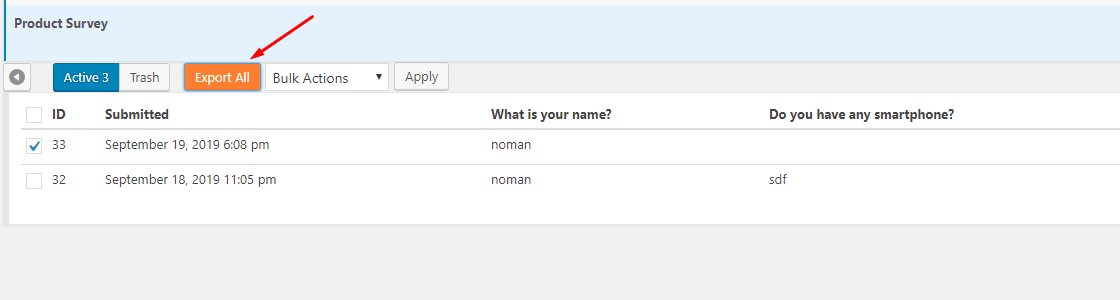
- Step 3 : Export The Form Entry Or Entries
Export all of your entries by clicking on Export All. Export individual entries by clicking on the check-box beside the entries, then in the Bulk Actions drop-down menu select Export Selected and then click on Apply. You receive a prompt to Save the file to your local computer.

- Step 4 : Delete The Form Entry Or Entries
Delete a single entry by clicking on the Trash button in the right column on the entry you are removing. Delete multiple entries by clicking on the check-box beside the entries, then in the Bulk Actions drop-down menu select Move to Trash, then click on Apply.
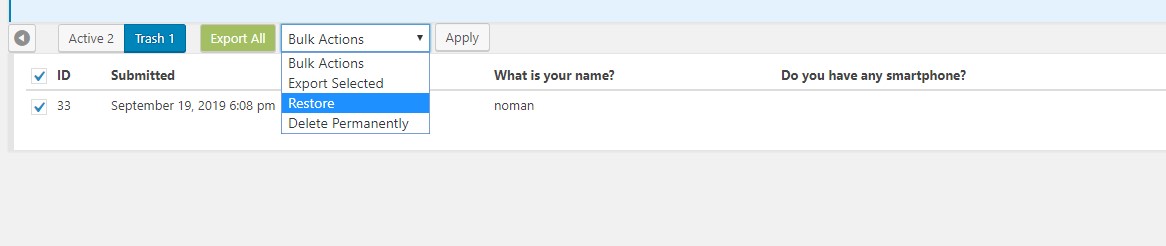
- Step 5 : Restore The Form Entry Or Entries
Restore an entry by clicking on the Trash tab, then clicking on Restore in the last column of the entry.

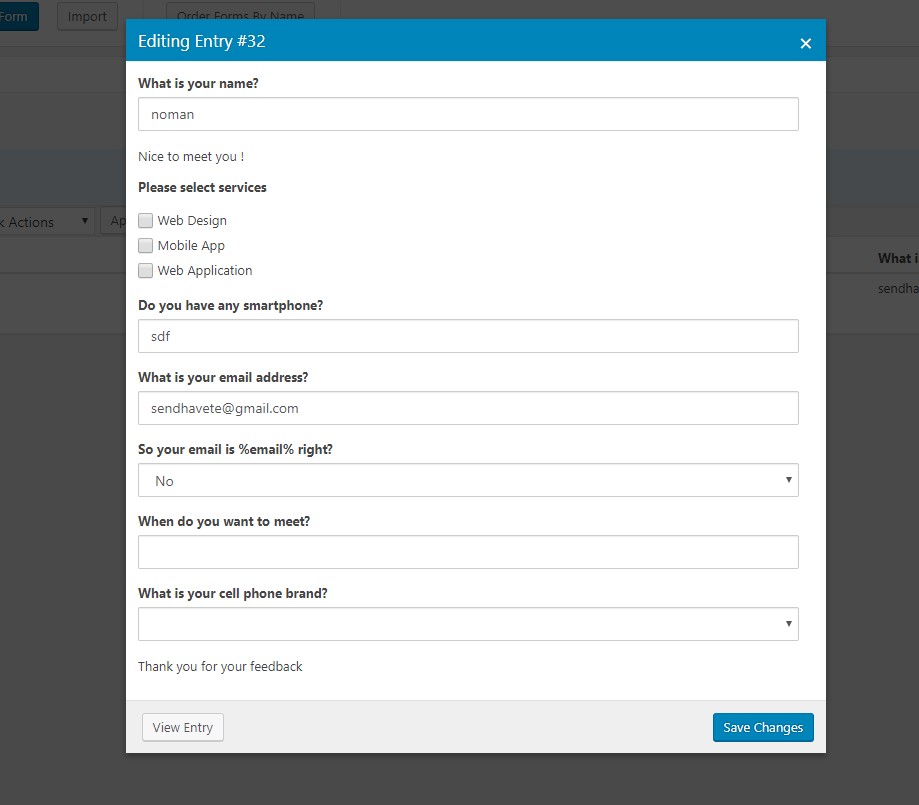
- Step 6 : View The Form Entry
View a single entry by clicking on View in the last column of the entry. This launches the View Entry pop-up window.


- Step 7 : Edit And Save The Form Entry
Edit an entry by clicking on Edit Entry in the View Entry pop-up window. You are now in the Edit Entry page of the View Entry pop-up window. Save the entry by clicking on Save Changes and exit by clicking on Close.