Yes, WPBot supports voice messaging or voice chat – making your WordPress chatbot smarter and more conversational.
For Voice enabled chatbot you need the Master license.
Here’s how you can:

Step 1: Choose Your Speech Service
In your General Settings tab:
• Under “Please select a service”, pick either Google or Microsoft.
• Click Save Changes after selecting.
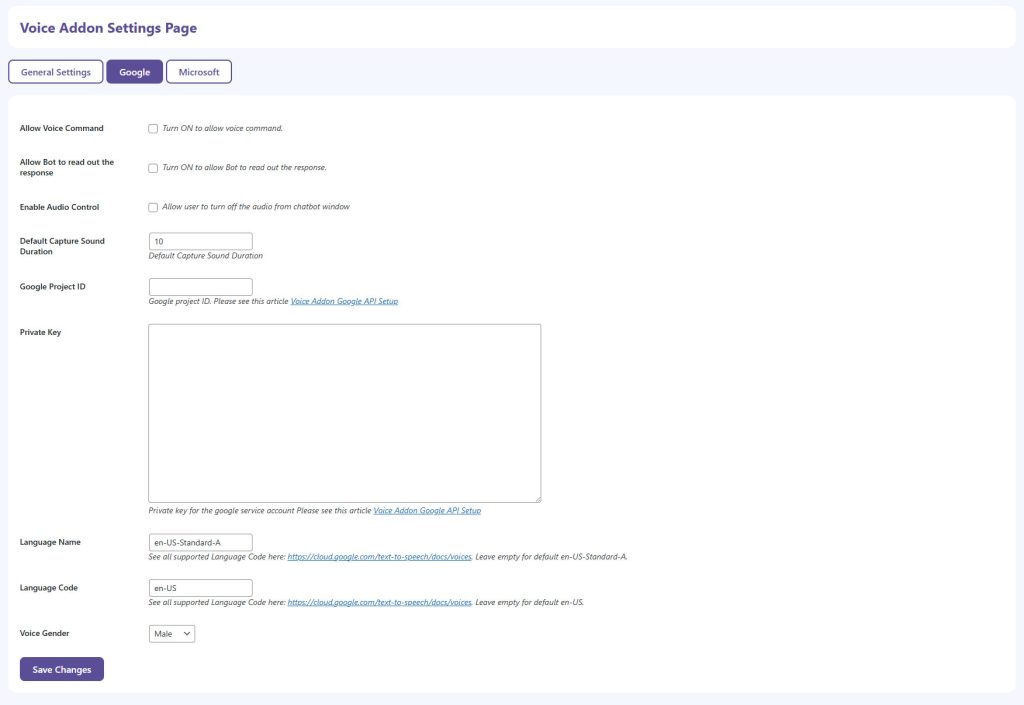
Step 2: If You Choose Google
Go to the Google tab and fill in:
1. Allow Voice Command → check this box.
(Enables speech-to-text input in your chatbot.)
2. (Optional) Allow Bot to Read Out the Response → check if you want the bot to reply via text-to-speech.
3. Default Capture Sound Duration: 10 (default is fine)
4. Google Project ID → Enter your Google Cloud Project ID
(You must have Cloud Speech-to-Text and Text-to-Speech APIs enabled.)
5. Private Key: Paste the JSON private key content from your Google service account.
6. Language Name: e.g. en-US-Standard-A
(Google’s standard US English voice)
7. Language Code: en-US
8. Voice Gender: Choose Male or Female.
9. Click Save Changes.
Reference setup guide: Google Voice Addon API Setup
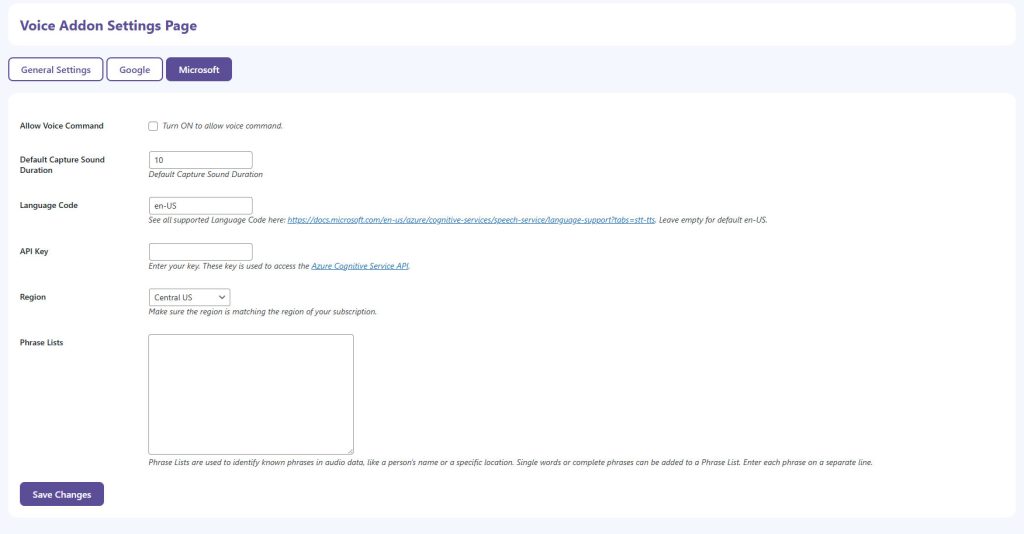
Step 3: If You Choose Microsoft (Azure Cognitive Services)
Go to the Microsoft tab and fill in:
1. Allow Voice Command → check this box.
2. Default Capture Sound Duration: 10
3. Language Code: en-US
4. API Key: Paste your Azure Speech Service Key from the Azure Portal.
5. Region: Choose the same region where your Speech resource is hosted (e.g., Central US).
6. (Optional) Phrase Lists: You can add frequently used words or names to improve recognition accuracy.
7. Click Save Changes.
Reference setup guide: Azure Cognitive Services Speech Setup
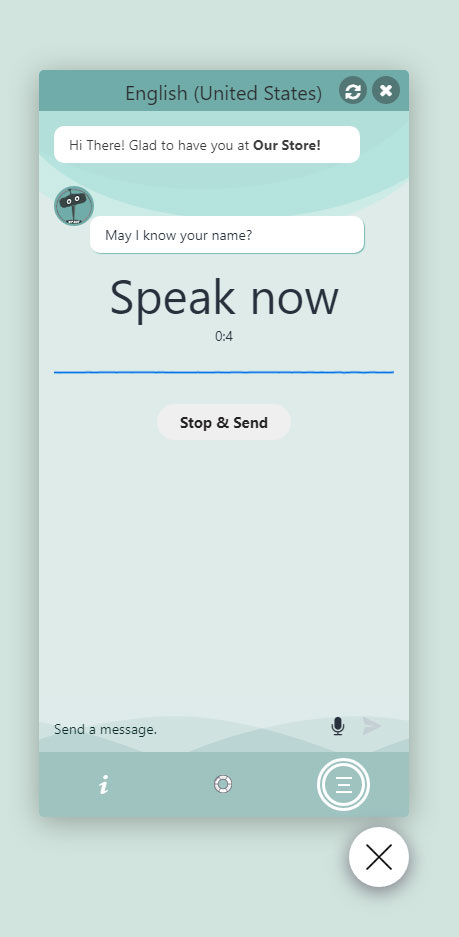
Step 4: Test the Setup
Once saved:
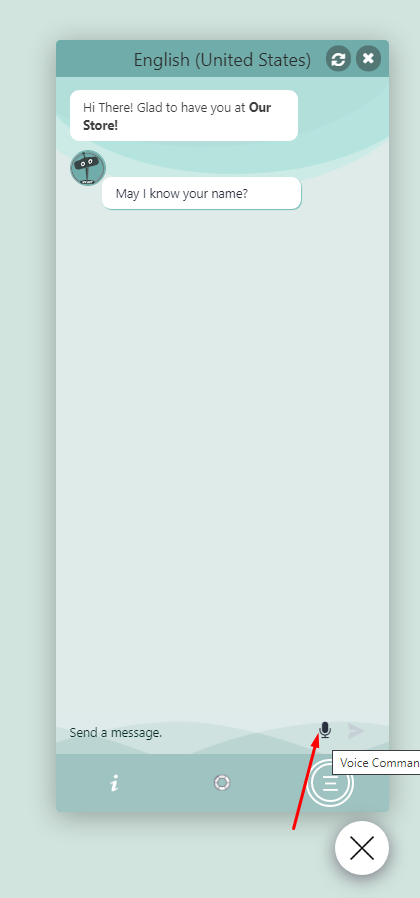
1. Refresh your chatbot window.
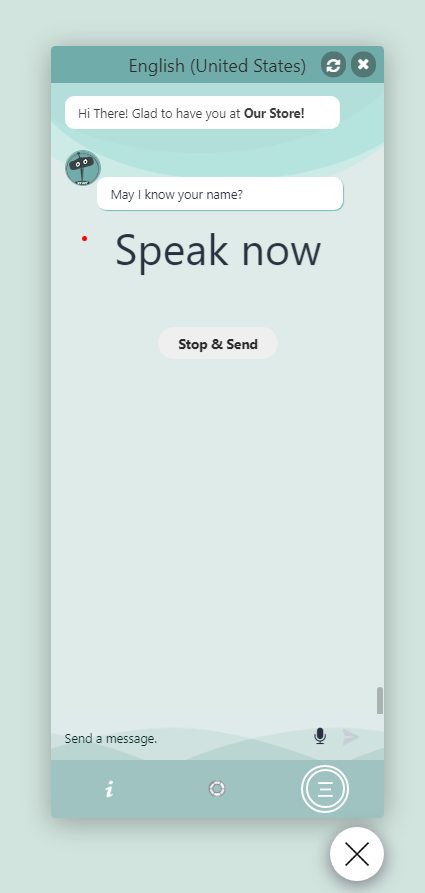
2. The microphone icon should appear (as in your second image).
3. Click the mic → Speak → Click “Stop & Send.”
4. The bot should recognize and respond with text or voice (if enabled).