- Prerequisites
- Step 1: Create a Google Cloud Project
- Step 2: Enable Google Sheets API
- Step 3: Create a Service Account
- Step 4: Create the Service Account JSON Key
- Step 5: Get the Service Account Email
- Step 6: Share Your Google Sheet
- Step 7: Get the Sheet ID
- Step 8: Get the Sheet Name
- Final Configuration
- 1. Service Account JSON
- 2. Sheet ID
- 3. Sheet Name
- Example Configuration
This guide explains how to configure a Google Service Account and connect it to a Google Sheet. At the end, you will have the following three values:
- Service Account JSON
- Google Sheet ID
- Google Sheet Name
Prerequisites
- A Google account
- A Google Cloud Project
- A Google Spreadsheet
Step 1: Create a Google Cloud Project
- Open the Google Cloud Console.
- Go to Console Home.
- Click Select Project.
- Click New Project.
- Enter:
- Project Name
- Organization (optional)
- Click Create.
Step 2: Enable Google Sheets API
- Open APIs & Services → Library.
- Search for:
Google Sheets API - Click it.
- Click Enable.
This is useful if your application needs to locate or manage spreadsheets.
Step 3: Create a Service Account
Open: https://console.cloud.google.com/iam-admin/serviceaccounts or navigate to: IAM & Admin → Service Accounts.
Click Create Service Account.
Fill in:
| Field | Example |
|---|---|
| Service Account Name | sheet-access |
| Service Account ID | auto-generated |
| Description | Google Sheets Integration |
Click Create and Continue.
You can skip assigning roles if your application only needs access to specific shared spreadsheets.
Click Done.
Your Service Account is now created.
Step 4: Create the Service Account JSON Key
Open your Service Account.
Go to the Keys tab. Click Add Key → Create New Key. Choose JSON. Click Create.
A JSON file will automatically download to your computer.
Example: my-service-account.json
Keep this file secure. Google only lets you download the private key once; if you lose it, you’ll need to create a new key.
Step 5: Get the Service Account Email
Open the downloaded JSON file.
Find:
{
  "client_email": "[email protected]"
}
Copy the value of client_email.
Example: [email protected]
Open your Google Spreadsheet.
Click Share.
Add the Service Account email: [email protected].
Permission: Editor.
Click Send.
Without sharing the sheet, the Service Account cannot access it.
Step 7: Get the Sheet ID
Open your Google Sheet.
Example URL: https://docs.google.com/spreadsheets/d/1AbCdEfGhIjKlMnOpQrStUvWxYz123456789/edit#gid=0
The Sheet ID is: 1AbCdEfGhIjKlMnOpQrStUvWxYz123456789
Step 8: Get the Sheet Name
At the bottom of the spreadsheet, you’ll see the worksheet tabs.
Example: Sheet1
This tab name is your Sheet Name.
Example: Products
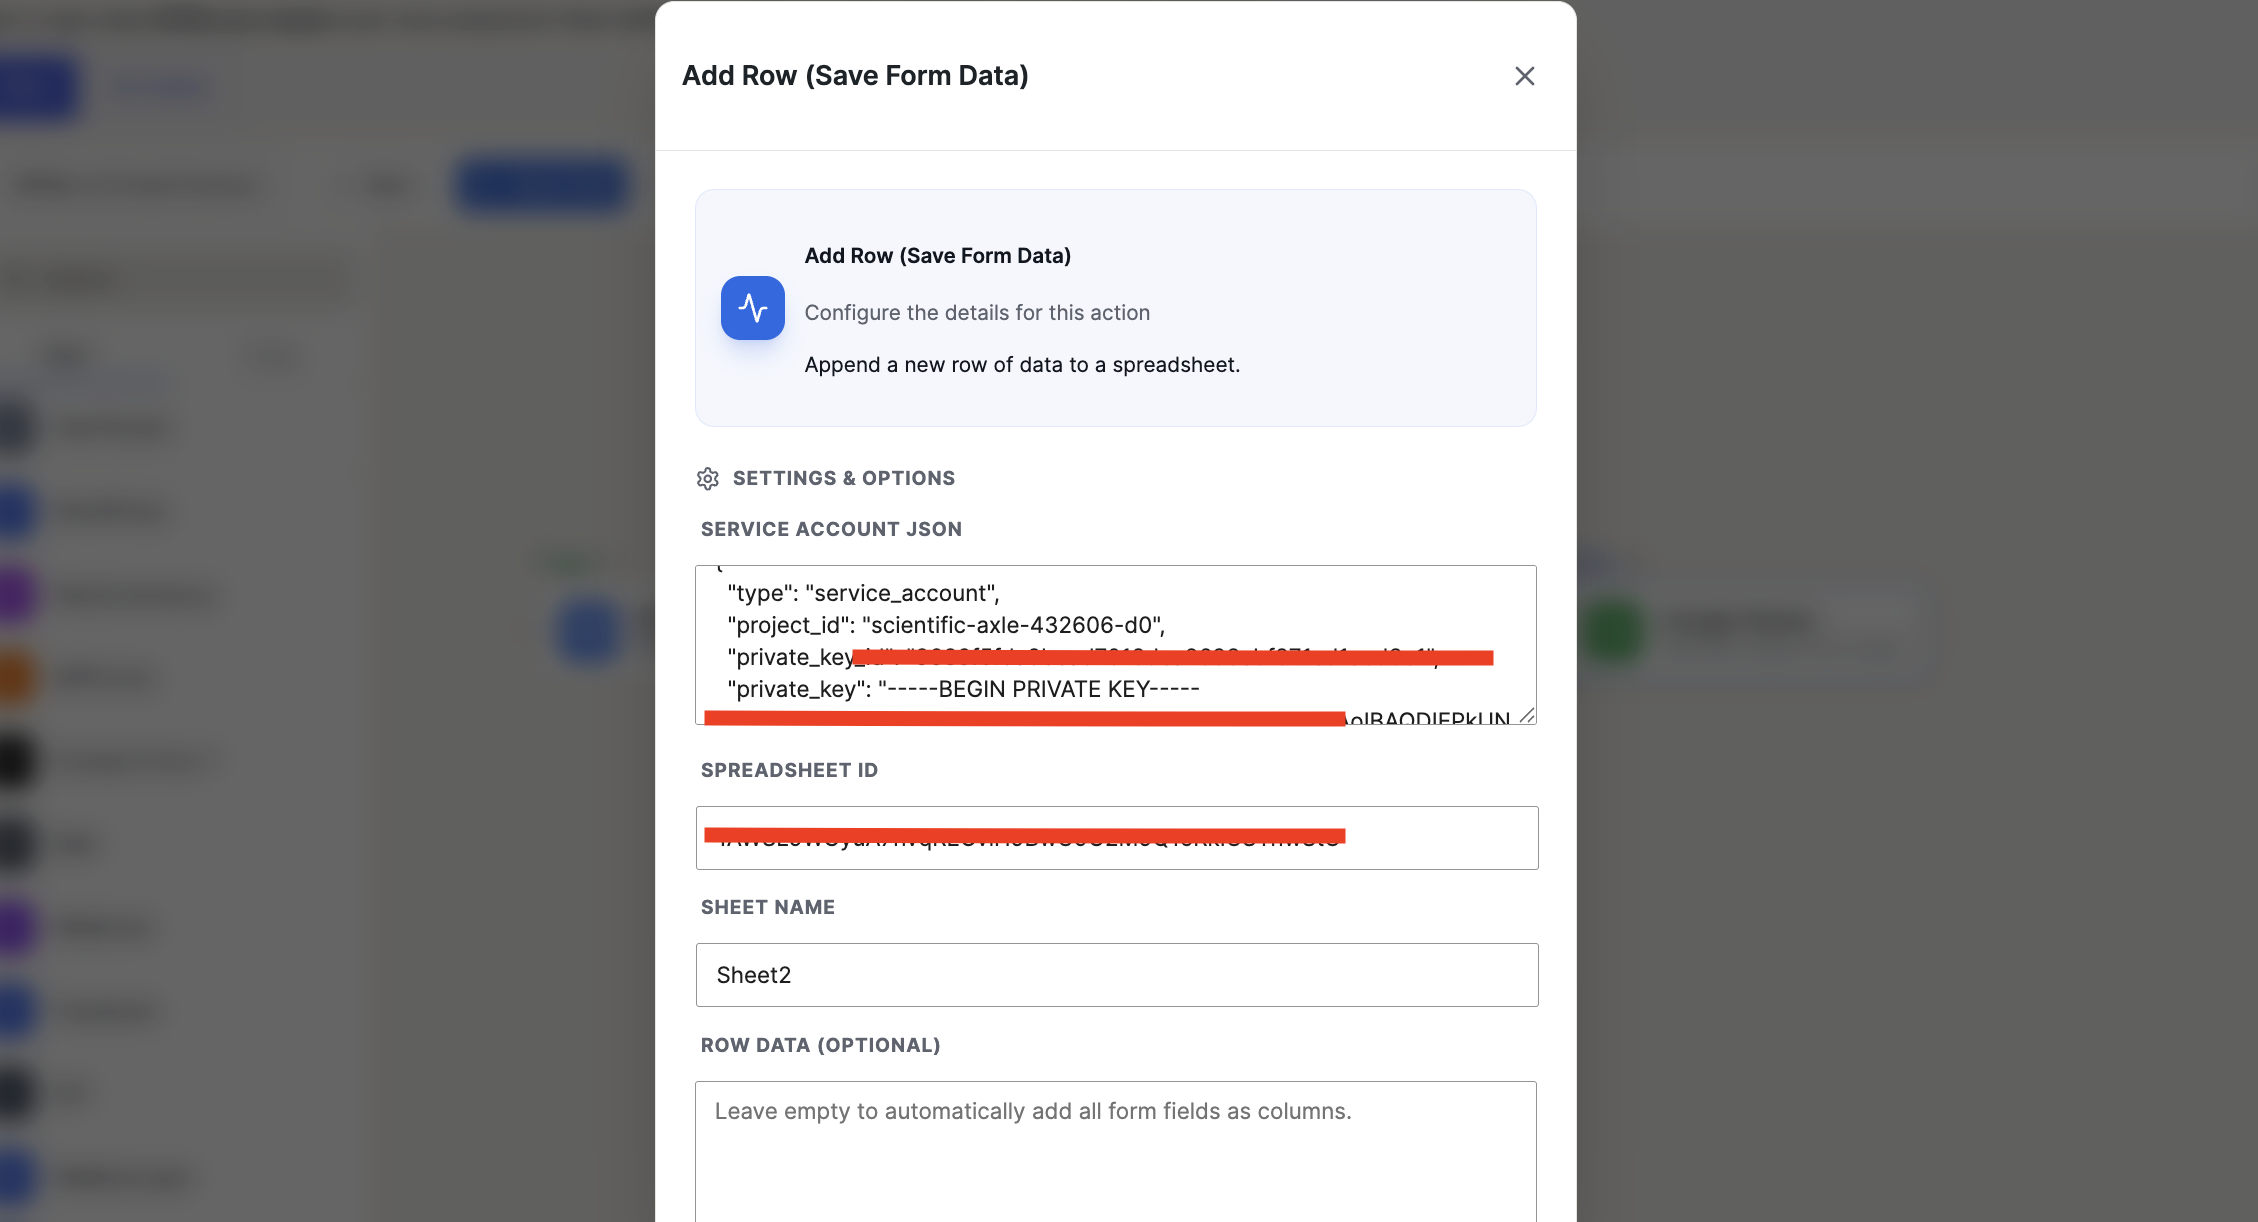
Final Configuration
You should now have the following:
1. Service Account JSON
my-service-account.json2. Sheet ID
1AbCdEfGhIjKlMnOpQrStUvWxYz1234567893. Sheet Name
ProductsExample Configuration
Service Account JSON:
credentials.json

Sheet ID:
1AbCdEfGhIjKlMnOpQrStUvWxYz123456789

Sheet Name:
Products